
How to Install an Inflatable Slide


How to Install an Inflatable Slide
Install an inflatable slide requires choosing a flat surface, laying down the floor mat, unfolding the slide, connecting the blower to the air inlet and securing it tightly, and connecting the power adapter for inflation. Inflation takes approximately 5-10 minutes. Note that guy lines or ground anchors must be installed around the slide for wind protection, ensuring the equipment is stable, securely connected, and free from the risk of being punctured by hard objects.
The following are the specific installation steps and precautions:
- Site Preparation and Unfolding
Install an Inflatable Slide:
Clean the Ground: Ensure the installation site is flat and free of sharp objects (such as glass, stones, nails, etc.).
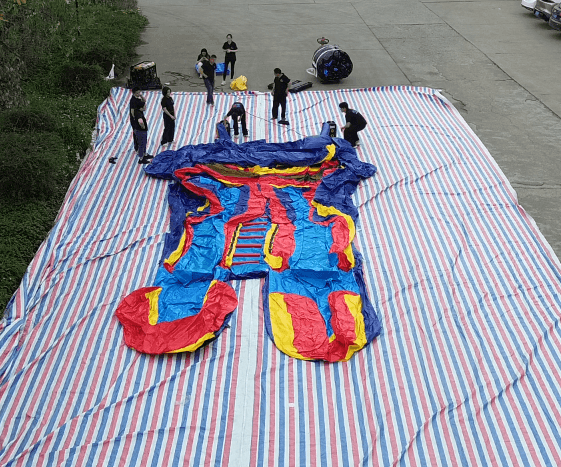
Lay Down the Floor Mat: Lay down a carpet or plastic tarpaulin on a flat surface to prevent the equipment from getting dirty or scratched.
Unfold the Equipment: Lay the inflatable slide flat on the mat and prepare the slide, ladder, and other components.
- Connect the Blower
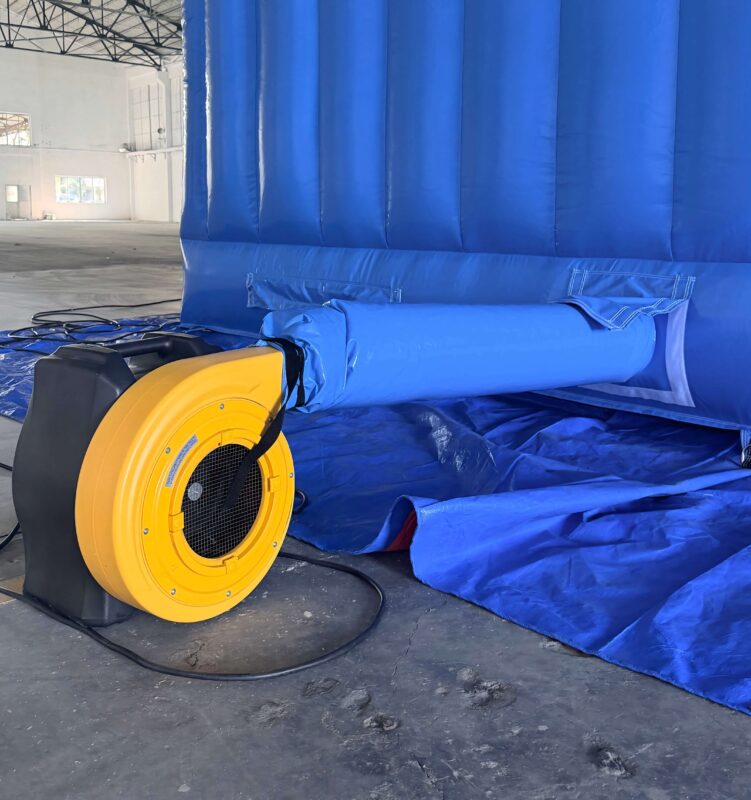
Locate the Air Inlet: Locate the air inlet of the inflatable slide, insert the blower outlet into it, and secure it with rope to prevent air leakage.
Power Connection: Connect the blower to the power supply using a suitable cable. It is recommended to connect a residual current device (RCD).
Blower Inspection: Ensure the power supply voltage matches the blower's nameplate and check the blower's rotation direction. For large slides, inflate from the back or side to ensure even air pressure.
- Inflation and Shaping
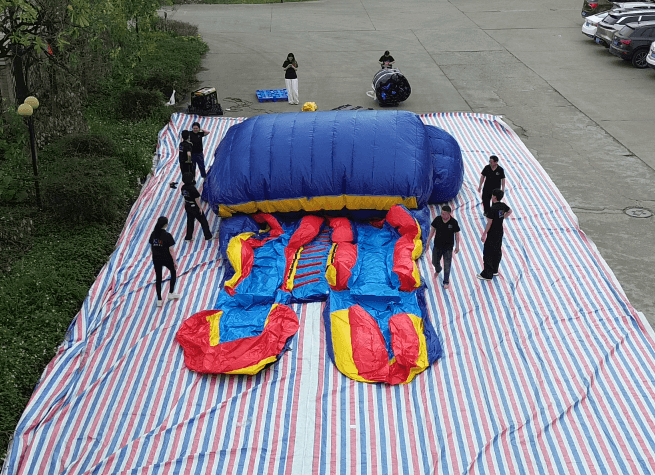
Starting the Blower: Connect the power supply. The equipment will inflate within 5-10 minutes.
Shaping Fixation: During inflation, check that the shaping is rising normally and attach the slide and ladder to the designated positions (e.g., at the slide area).
- Windproofing (Very Important)
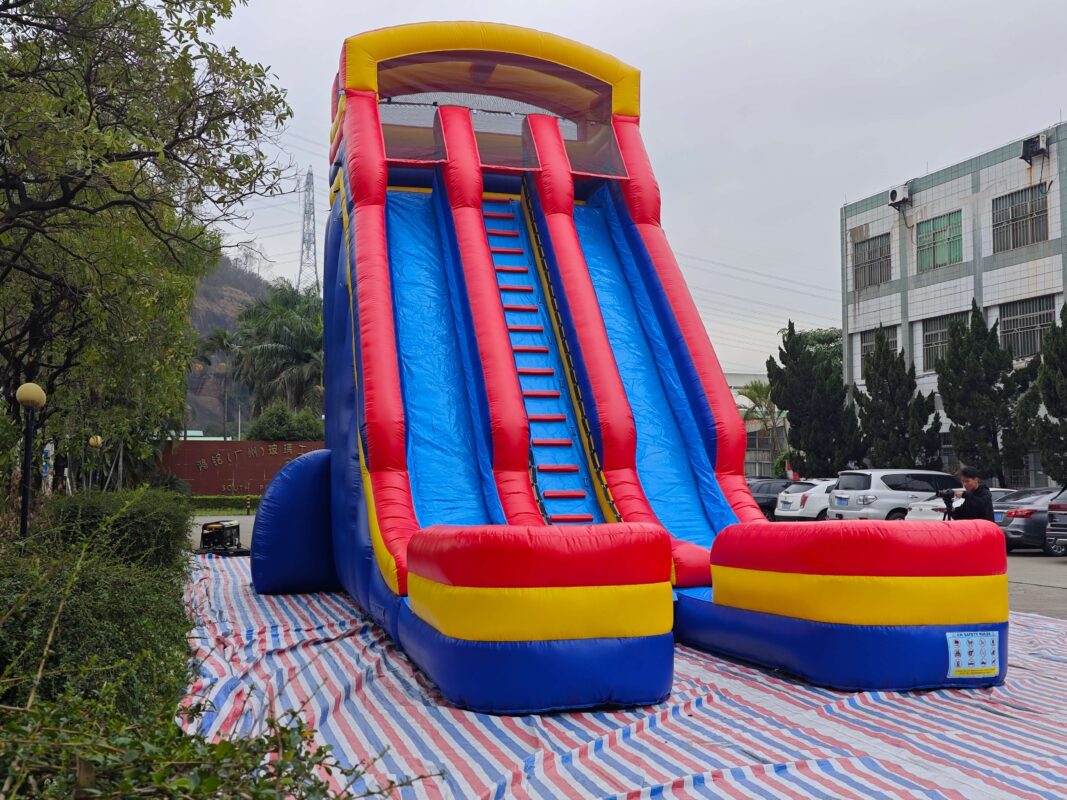
Anchor Fixation: Secure the equipment around the windproof pull rings using sandbags, ground stakes, or by tying it to a sturdy object (such as a tree or concrete stake) to prevent it from being blown over by strong winds.
Windproofing Requirements: If winds exceed level 4, deflate the equipment and cease operation.
- Installation and Maintenance Precautions
Operating Capacity: Generally, it is recommended to accommodate one child per 3 square meters to avoid overloading.
Safety Inspection: Check the air pressure; if too soft, check for leaks; if too hard, block the fan inlet.
Repair: Use special PVC glue and spare materials to glue the damaged area.
For more information, please click: https://www.youtube.com/shorts/GK-K7IDONdQ