
Stop Inflatable Slide Seam Leaks: 3 Expert Fixes
Stop inflatable slide seam leaks: 3 expert fixes
Maintain heavy-duty pressure. Fix Inflatable Slide Seam Leaks instantly with our 1300D PVC repair guide. Safeguard your rental reputation. Read now!
Introduction
The Rental Nightmare: Picture this. It's Saturday morning, crunch time for your rental business. You are setting up for a high-profile birthday toss or a corporate gig.
You hook up the blower, expecting a masterpiece. Instead, the unit looks sagging and sad. Finding Inflatable Slide Seam Leaks right before an event is a gut punch.
It isn't just about soft vinyl. It's about the risk to your hard-earned reputation. It's about the potential for lost revenue if the client demands a refund on the spot.
Authority Statement: Look, I've been in this game a long time. At CH Inflatables, we have spent over 17 years manufacturing commercial-grade units.
We build our products using heavy-duty 0.9mm and 0.55mm 1300D PVC specifically to prevent these headaches.
But let's be real. Dragging units across concrete and packing them wet takes a toll. Even "bombproof" units need care eventually.
The Deal: This isn’t some generic generic AI article. This guide covers professional air loss detection, specific chemical shortcuts, and expert repair methods that actually hold up in the field.
My goal is simple. I want to help you tackle Inflatable Slide Seam Leaks so you can keep your calendar booked and your slides rock hard.
Diagnosing the source: is it needle expansion or a rupture?
Before you start throwing glue around, you have to know what you are fighting. Not all leaks are created equal.
Is it a puncture from a sharp object? Or is it the natural widening of needle holes due to years of pressure? Accurate air loss detection is the first step.
The soap water test for precision
In the factory, we test every unit before it ships. The most reliable method for air loss detection is the classic soap water test.
However, I see rookies mess this up constantly by using harsh chemicals that eat the PVC coating. Don't do that.
Here is the mix we use on the floor:
- The Ratio: Mix 1 part liquid dish soap with 10 parts water in a spray bottle.
- The Application: Do not soak the whole unit. Focus on the stitch lines.
- The Observation: Fast-growing, large bubbles indicate a leak that needs immediate repair.
Actionable Step: Spray the seams near the climbing wall ladder and the slide landing area. These are your "high-stress zones."
Identifying thread tension issues
You need to distinguish between normal "breathing" and a catastrophic leak. All stitched inflatables breathe; that is why we use continuous blowers.
You will see tiny bubbles (fizzing) on almost all seams. This is normal behavior.
However, thread tension issues look different. If you see the thread actually lifting away from the vinyl, or if the needle holes have turned into visible ovals, you have a problem.
We call this "stitch popping." It happens when cheaper units are sewn without proper tension regulation. It causes the seam to widen, leading to massive Inflatable Slide Seam Leaks.
To better understand specific repair techniques for these leaks, this video tutorial is highly recommended:
https://www.youtube.com/watch?v=uvQl1tOfnvQ
Fix #1: Chemical bonding with vinyl adhesive
If the leak is small or located directly on a stitch line where a patch looks ugly, chemical bonding is your best friend. This involves precise vinyl adhesive application.
We are not talking about Super Glue. Do not ever use hardware store super glue on inflatables. It becomes brittle and shatters the PVC like glass.
Why HH-66 vinyl cement is the industry standard
In all my years, nothing beats HH-66 glue usage for repairing commercial 0.55mm or 0.9mm PVC. It is the gold standard for fixing Inflatable Slide Seam Leaks.
Here's the kicker: HH-66 isn't just sticky paste. It is a solvent-based adhesive that acts as a chemical welder.
It essentially melts the PVC molecules of the patch and the slide together. Once cured, they become one piece of material.
Step-by-step vinyl adhesive application
For a professional result, follow this protocol:
- Clean the Area: This is non-negotiable. Use MEK (Methyl Ethyl Ketone) or Acetone to wipe the seam. This removes dirt and the chemical coating that prevents glue from sticking. *Wear gloves.*
- Apply the Adhesive: Brush the glue into the seam. If it is a thread leak, dab it gently so it penetrates the needle hole.
- The Wait: Let it get "tacky." Depending on humidity, this takes 2-5 minutes.
- Press and Cure: Apply pressure. Do not re-inflate the unit immediately.
Proper HH-66 glue usage requires patience. If you inflate it while wet, the air pressure will blow the glue out, creating a messy bubble that is impossible to clean.
For more on general repair kits, check this guide: How to Repair Inflatables: A Step-by-Step Guide – Floatie Kings.
Fix #2: The reinforcement strip bonding technique
Sometimes, glue isn't enough. If the fabric is tearing at the stitch line (common in the pool areas), you need reinforcement strip bonding.
This is the strongest fix available short of sending the unit back to the factory for re-sewing.
Cutting and preparing 1300D PVC strips
Why apply a patch *over* a leaking seam? Because it redistributes the stress. Instead of the thread holding the pressure, the new strip of PVC holds it.
At CH Inflatables, our repair kits come with the same 0.55mm 1300D PVC used in manufacturing. Always use matching material.
- Round Your Corners: Never use a square patch. The corners will peel up over time. Cut your strips with rounded ends.
- Size Matters: The strip should extend at least 2 inches beyond the leak in every direction.
Executing the bond
The process of reinforcement strip bonding is an art form:
- Markup the area with a pencil (not pen or marker, as ink bleeds through vinyl).
- Apply adhesive to both the strip and the slide surface.
- Wait for the "tack" (crucial step).
- Press the strip down firmly.
- The Secret Weapon: Use a rampant roller or a smooth hard object to roll over the patch.
This pushes out air bubbles and ensures a 100% molecular bond. In my experience, a reinforced external strip stops Inflatable Slide Seam Leaks from spreading for years.
Fix #3: Internal baffle and corner repair
Sometimes, the leak isn't on the outside. If your slide looks like a sunken castle but you can't find an external hole, you likely have an internal leak.
Accessing the interior via YKK zippers
This is where quality manufacturing counts. You need to physically climb inside the inflatable.
- Deflate the unit completely.
- Locate the deflation zippers.
- Enter the crawl space (bring a flashlight).
At CH Inflatables, we use high-strength YKK zippers for our deflation ports. We do this so you don't get trapped inside.
Sewing vs. Gluing internal tears
Once inside, check the baffles (the vertical walls that give the slide shape). If a baffle has ripped away:
- Small Tears: Use a curved needle and heavy-duty nylon thread. Hand-sew it using a "blind stitch."
- Large Tears: You are better off using the reinforcement strip bonding method inside the unit.
Internal repairs are tough. The environment is tight and smells of vinyl. Take breaks.
For community discussions on handling these heavy repairs, check this thread: r/sewing on Reddit: Inflatable Water Slide Repair.
Prevention: quality materials vs. maintenance
The best way to fix Inflatable Slide Seam Leaks is to prevent them from happening in the first place. This starts with your buying decisions.
Material comparison table
Here is a quick breakdown of why material choice dictates how often you'll be patching:
| Feature | Commercial Grade (Our Standard) | Budget / Residential Material |
|---|---|---|
| Material Thickness | 0.55mm to 0.9mm PVC | 0.40mm PVC or Nylon/Oxford |
| Thread Type | Bonded 9-strand Nylon (Rot-proof) | Standard Cotton or Polyester |
| Seam Strength | Welded or Quadruple Stitched | Single or Double Stitched |
| Leak Probability | Low (Years of service) | High (Often leaks first season) |
Advanced manufacturing features to look For
When I look at a competitors' slide, I stare at the stitching. At CH Inflatables, we implement:
- Double Line Stitching: Standard everywhere.
- Quadruple Stitching: On the bottom stress points and corners.
- Reinforcement Strips: We add extra webbing at every joint.
- Automotive-Grade Webbing: We recently upgraded our webbing to match seatbelt quality.
In industry slang, we call this "Bombproof Construction". It stops Inflatable Slide Seam Leaks before they start.
If your inventory is failing, check out this commercial-grade option:
Durable inflatable bounce house slide

Safety first: when to stop repairing and replace
There comes a point where a patch is just a band-aid on a bullet wound.
Assessing blower efficiency and safety
If you have patched multiple Inflatable Slide Seam Leaks and the unit still feels "soft," your blower might not be keeping up.
Even high-quality fans, like the CE-certified HW blowers we supply, have limits.
Expert Opinion: Never patch a seam that is structural to the slide's height stability if the failure is huge. If the main pillar seams are failing, the unit is a liability.
The cost-benefit analysis for rental businesses
Calculate your labor. If you spend 5 hours a week fixing a $1,000 unit, you are losing money.
- Cost of Glue/Patches.
- Cost of Labor.
- Risk of Refund/Bad Review.
Often, purchasing a new commercial inflatable yields a better ROI than nursing a dying unit.
Frequently asked questions (FAQ)
How do I find invisible air escapes in 0.55mm PVC?
If the soap test fails for your Inflatable Slide Seam Leaks, try the "Dark Room" technique. Inflate the unit in a quiet warehouse.
Turn off the blowers and quickly listen. You can often hear the hiss. Also, check Velcro attachments and zippers—these are common hidden spots.
Is it safe to patch a stressed area while the blower is running?
No. Absolutely not. To fix Inflatable Slide Seam Leaks correctly, the material must be relaxed.
If the blower is running, the air pressure will push the adhesive out of the pore before it cures. Always deflate fully before applying glue.
What causes needle holes to expand over time?
Three things: UV damage, low-quality thread, and lack of reinforcement. UV rays make PVC brittle.
If the manufacturer used cheap cotton thread, it snaps. Without webbing strips to distribute the load, the panels pull apart, creating leaks.
Wrapping it up
Dealing with Inflatable Slide Seam Leaks is part of the job, but it doesn't have to ruin your season.
Effective repair involves three steps: proper diagnosis (using the soap test), selecting the right method (Glue vs. Strip bonding), and using high-quality materials.
At CH Inflatables, we minimize these risks during production by using 0.9mm 1300D PVC and upgrading to stainless steel D-buckles.
Don't let a soft slide deflate your profits. Stop losing air and revenue. Browse our catalog of reinforced slides today.
For high-traffic summer seasons, ensure your water units are using upgraded 0.9mm materials to handle the load:
High quality inflatable water slide with pool

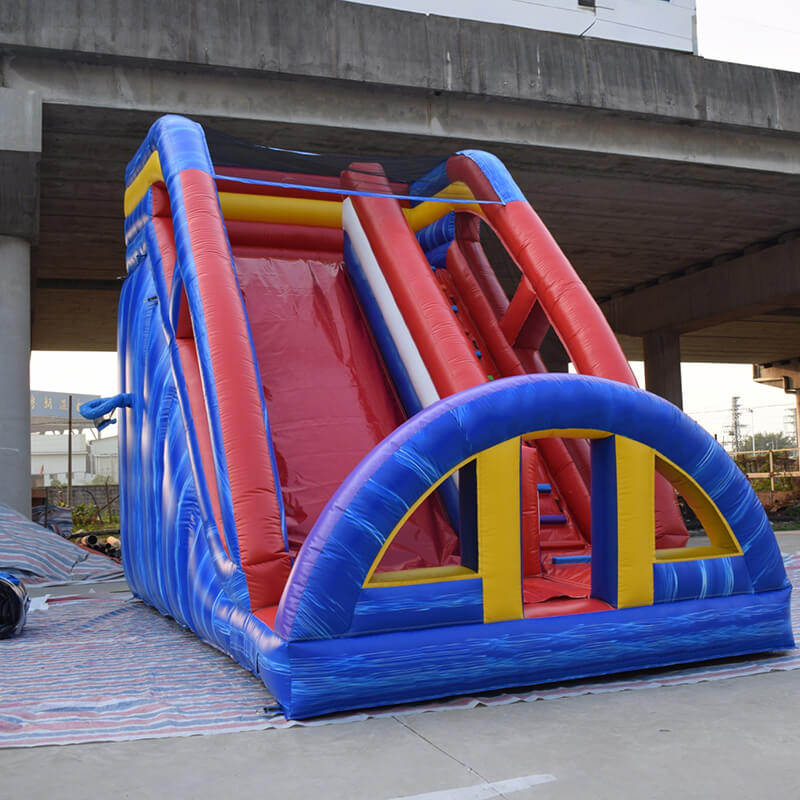
Image by: Roderick Salatan
https://www.pexels.com/@rico